In about two weeks the Valentine’s day is here and I am pretty sure those of you, who love DIY, would love to wear (or gift) some valentine’s themed hand made jewelry. That is why we decided to bring this free step by step tutorial, so you can make your own valentine’s rose earrings, using just polymer clay and few more things which you definitely have at home.
Preparation
 You will need:
- polymer clay (I am using FIMO, you can use basicly any color, we chose red :))
- 2 pcs jewelry findings – flat padded ear posts
- cutter
- glue
- ruler
- white paper
Time: 30 minutes + 30 minutes baking
Level: Easy
If you have everything, you are ready to start making your own valentine rose earrings! 🙂
Step by Step Tutorial
- Take the white paper and put it on your working surface. Soften your polymer clay in your hands and then roll it into a thin long and even shape.
- Use the ruler, to check if the width of your shape is even. Cut away the “ends” and put them back to the polymer clay package.
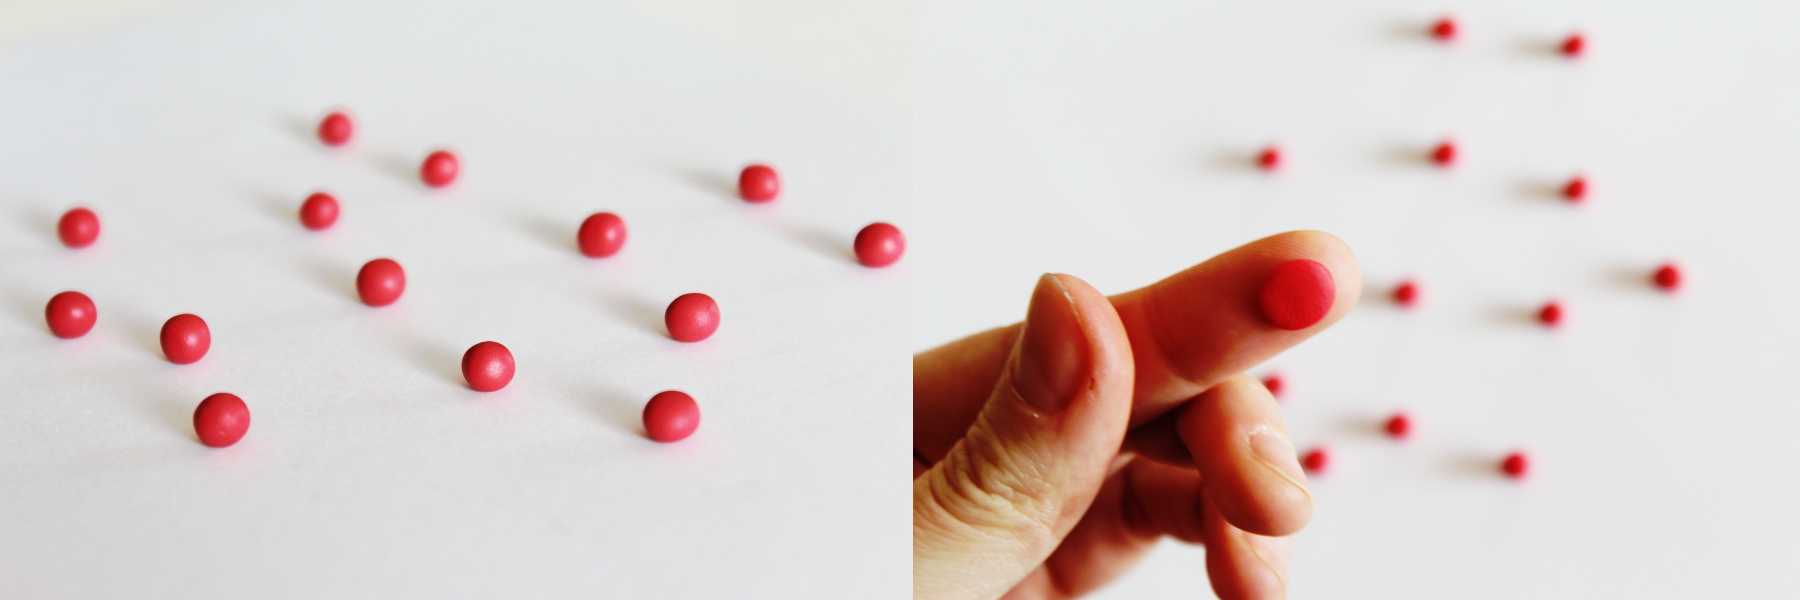
- Cut 14 pieces of the same size (4-5mm). Use the ruler to check it. Each piece roll with your fingers to create a little ball.
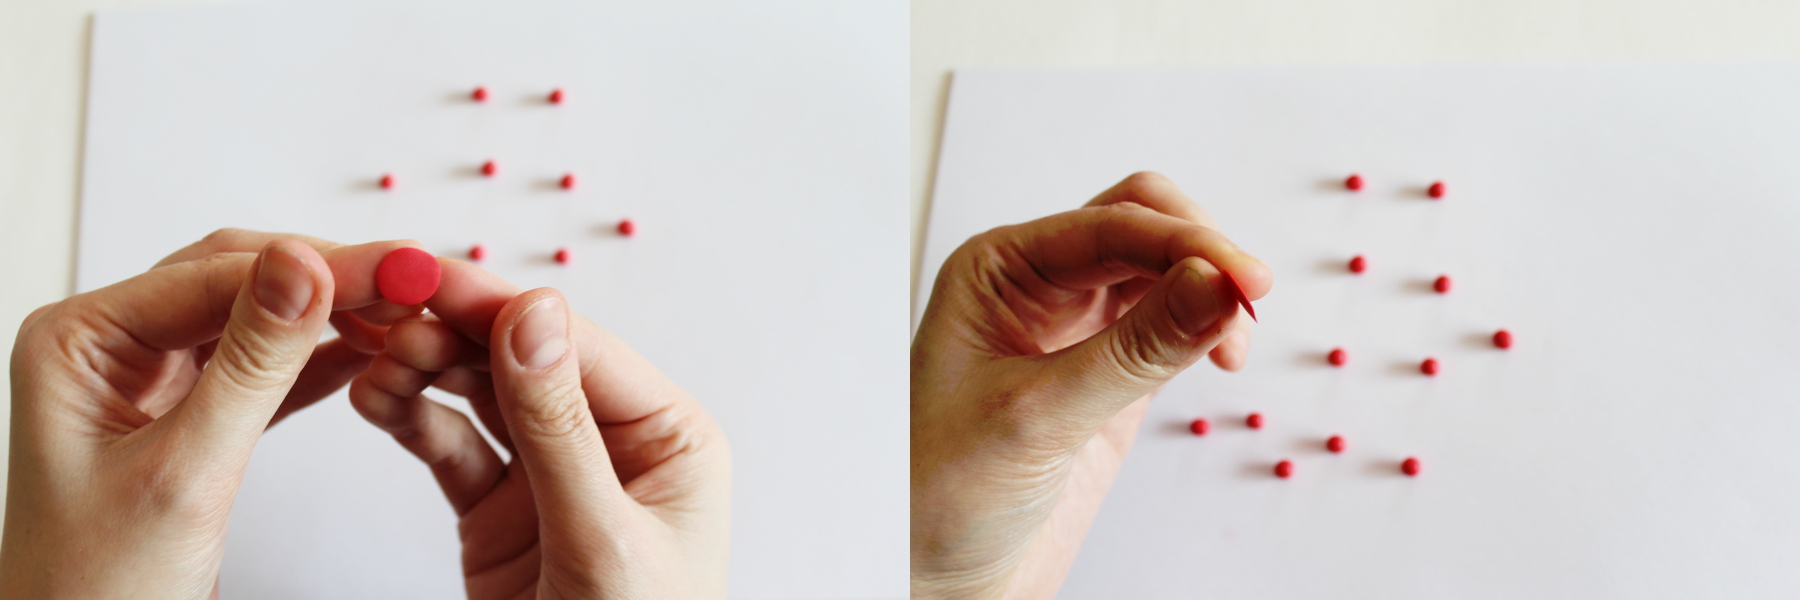
- Now you have 14 little balls. 2 will make centers of the flower and the rest will be for petals, 6 on each flower. Take one and press it with your thumb and finger to make it flat.
- Use fingers of both hands to stretch the shape even more and try to make it as thin as possible. This needs a bit of training 🙂
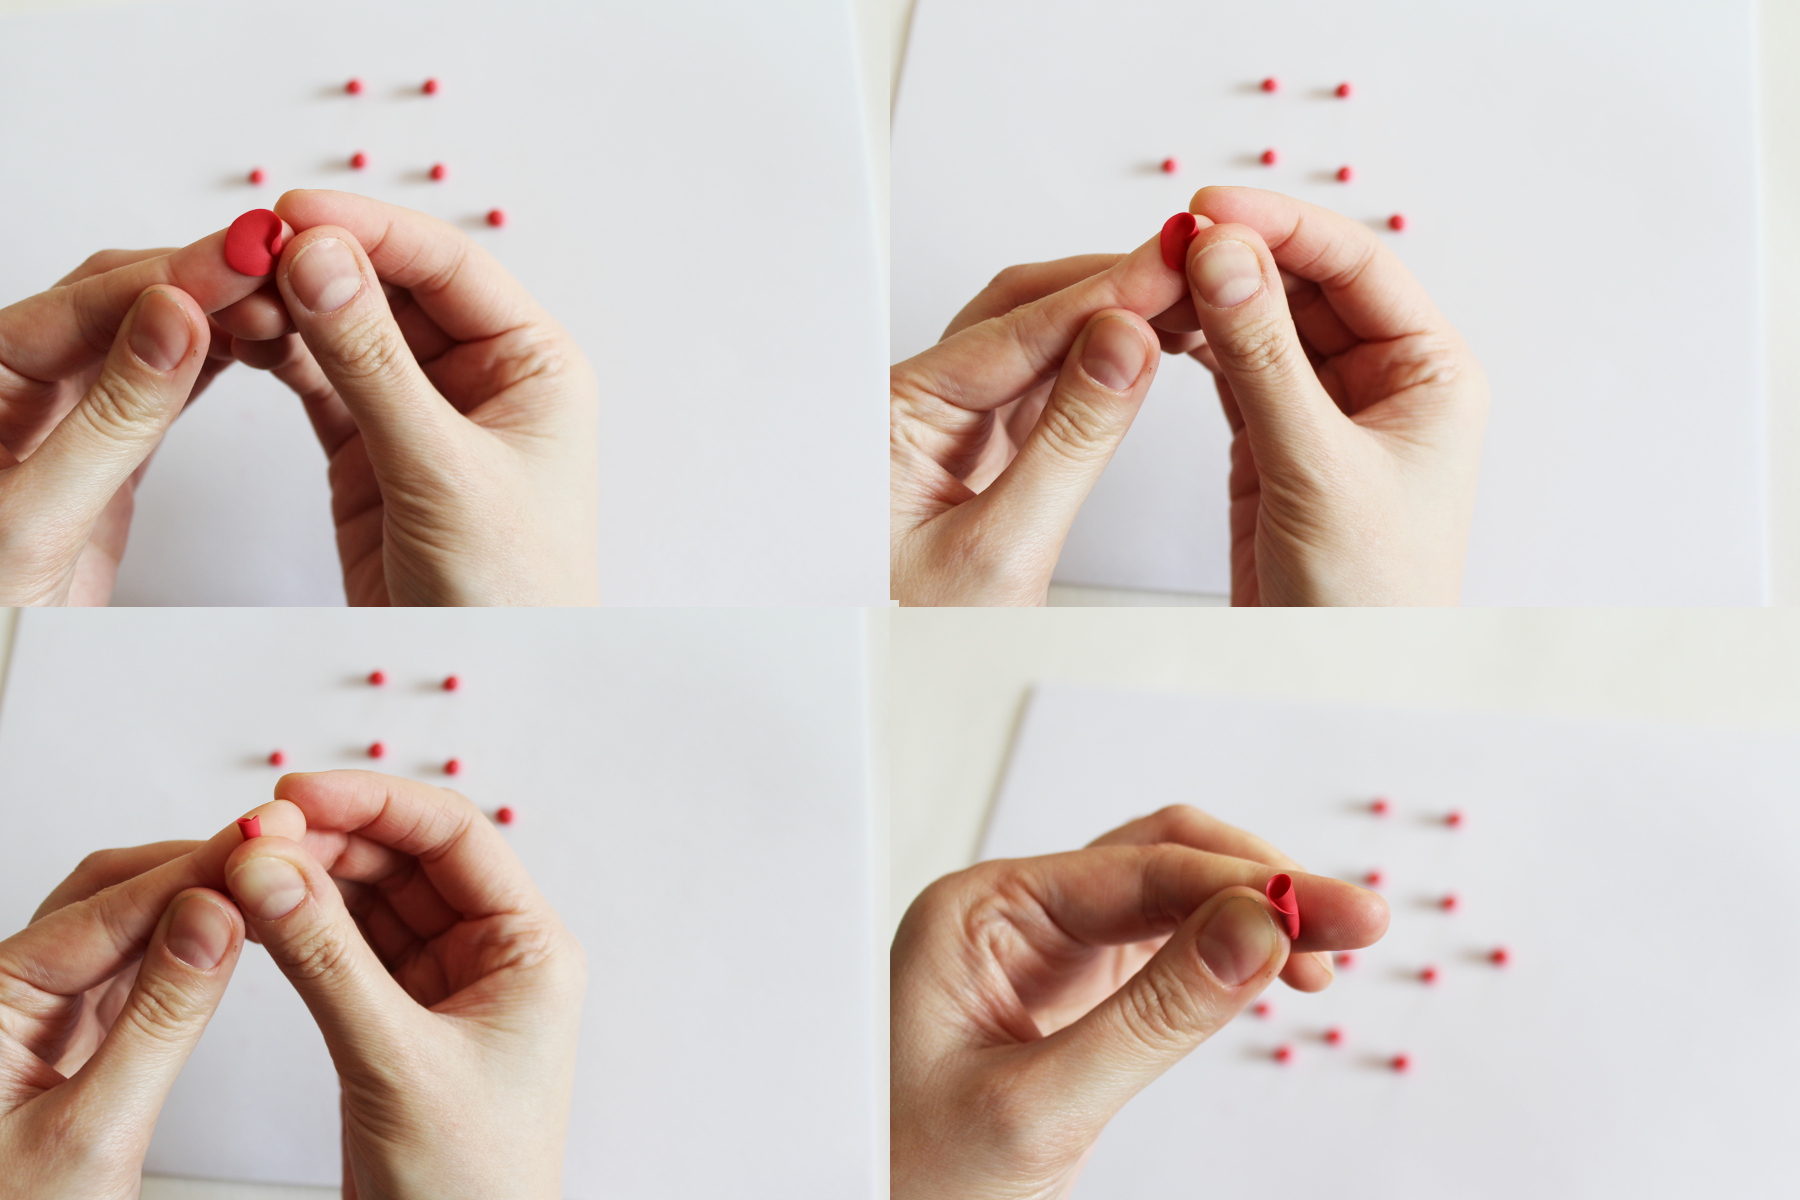
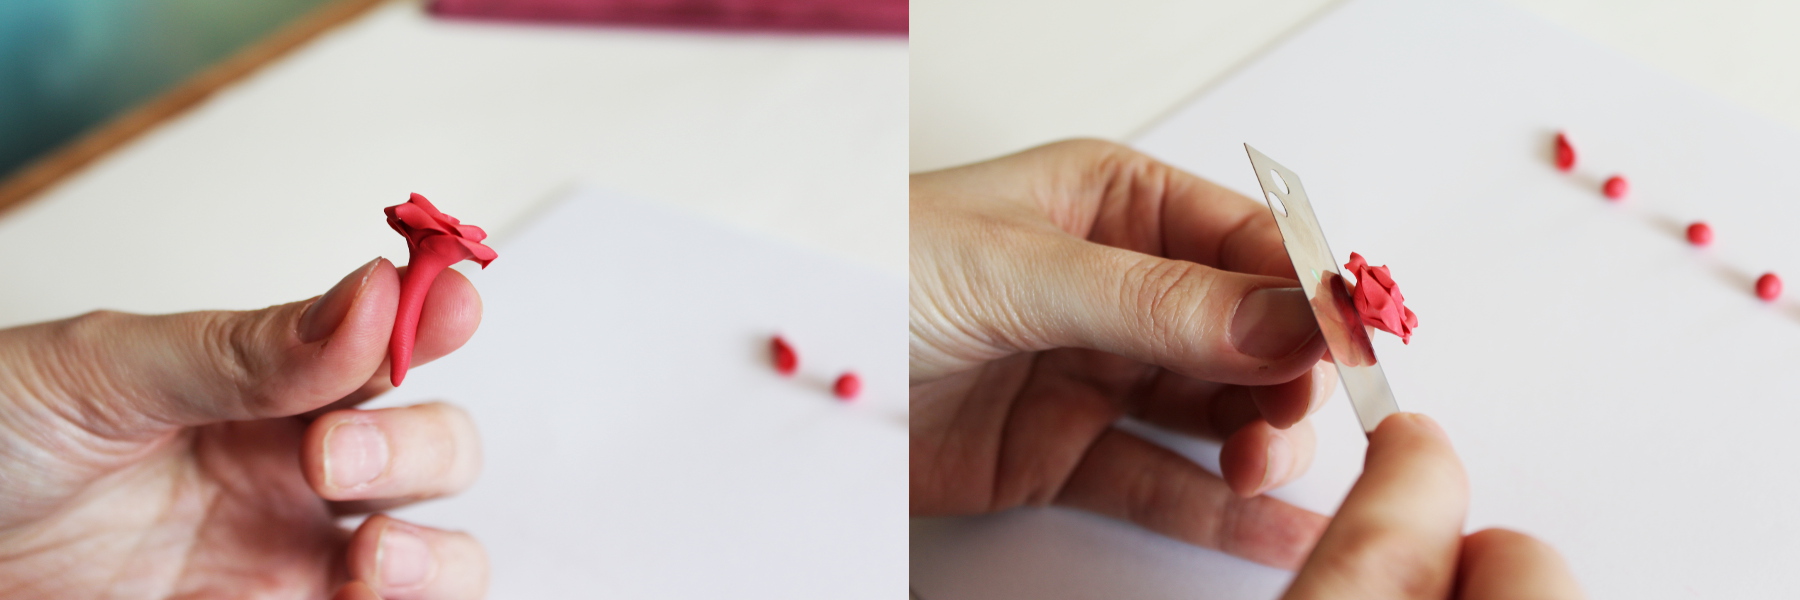
- Now the fun begins, we will create the center of the flower. Put the flat piece on your finger and bend a little edge with the thumb of your other hand. Then continue to roll it until the end. Repeat one more time for the center of the other earring, so you have two of them.
- Now we will be creating petals. Create the flat shape again and then lay it carefully to the central piece. Turn it in your fingers that its softly attached. Then shape the petal by pressing it with your finger and thumb. Be careful and always hold the flower by the bottom.

- Now repeat the previous step with another 5 petals, so you have 6 in total plus the center. Each new petal should little bit overlay with the previous one.
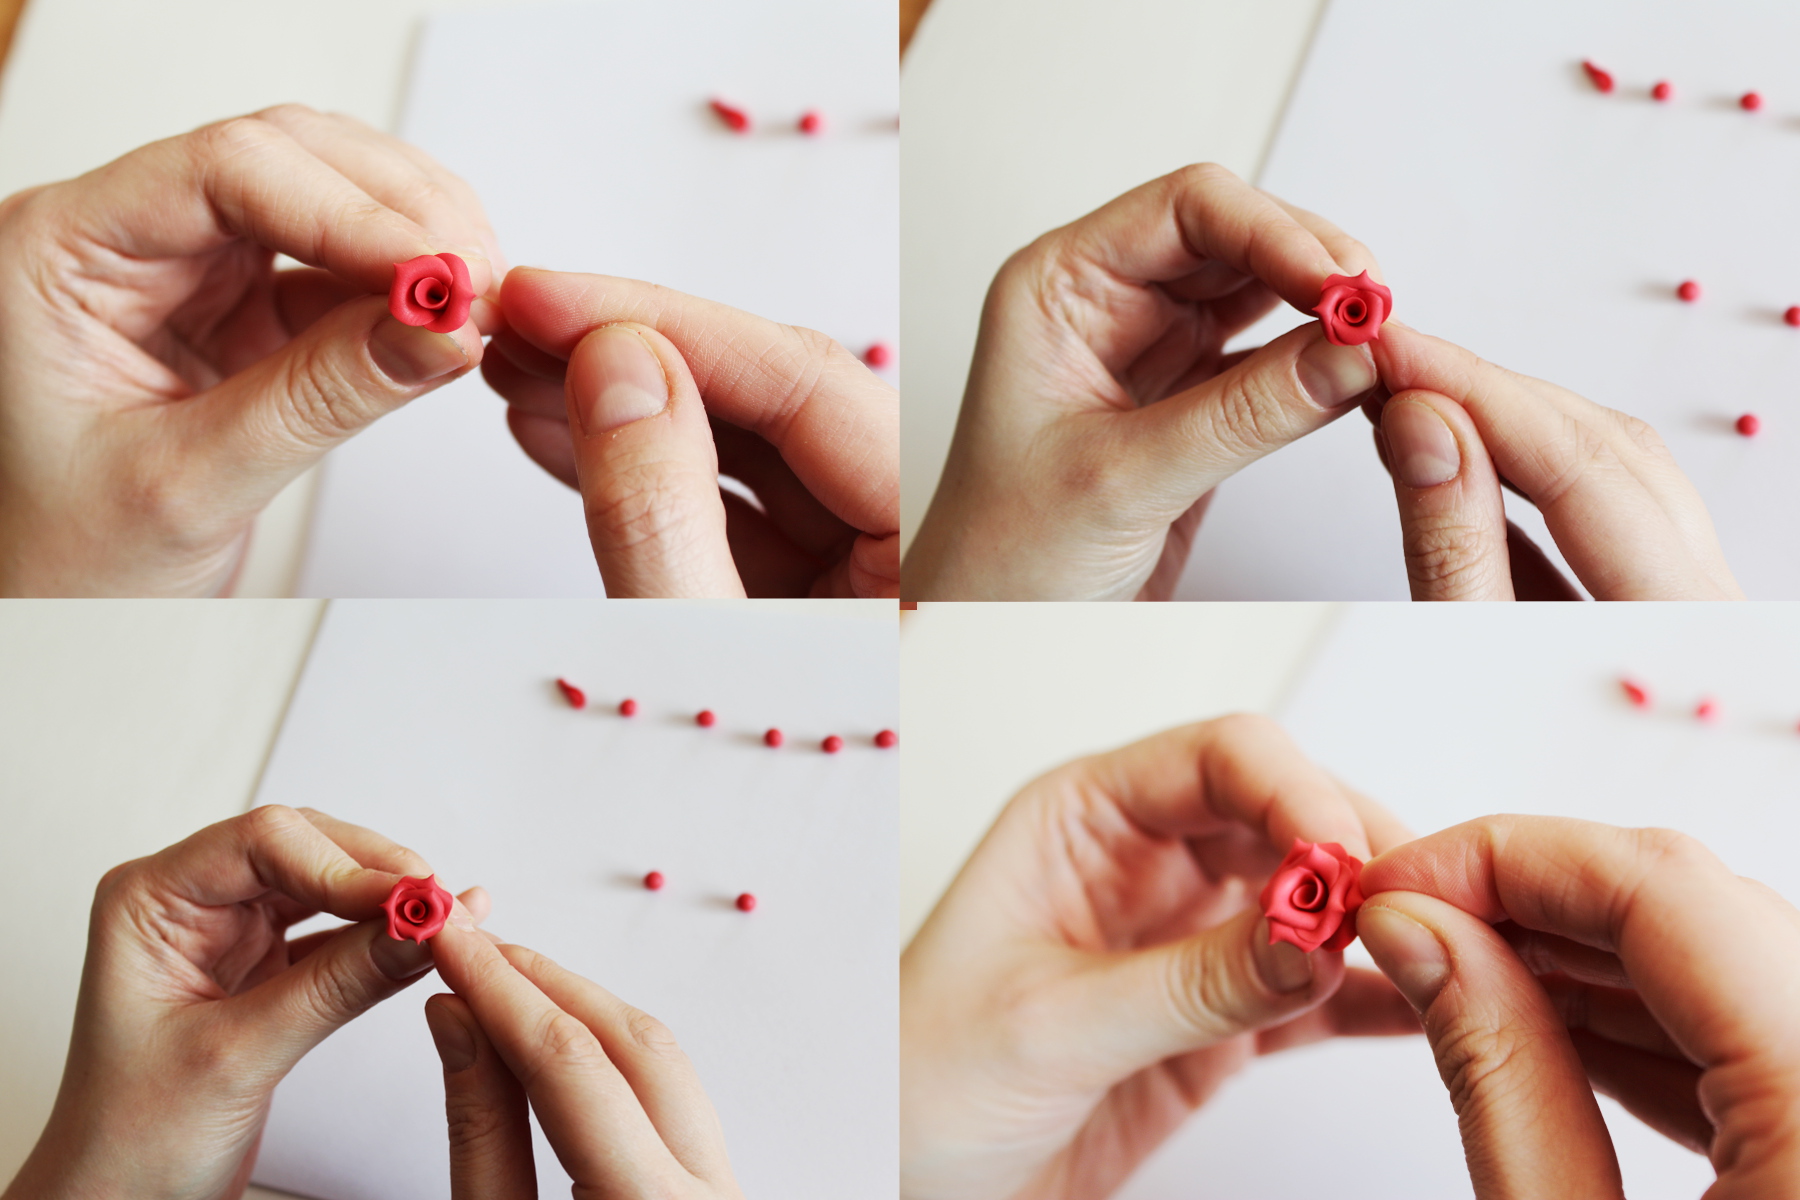
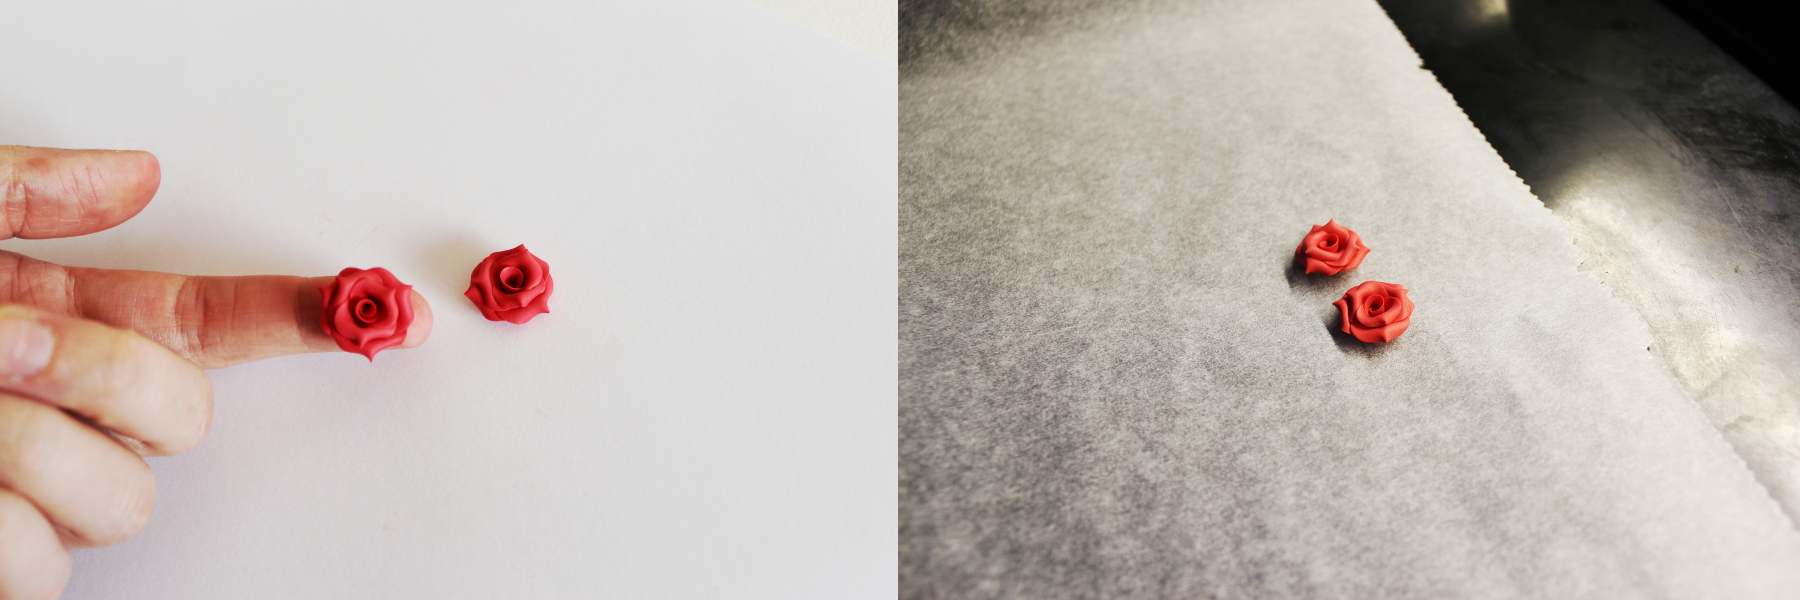
- So and this should be now your result. As you probably see, we have to cut away the shape from the back of the earring. When you are finished, repeat the whole process to create the other earring.
- Focus little bit on the fact that they should look the same or at least similar 🙂 Now you have two finished flowers which are ready for baking. I am always baking polymer clay earrings on a baking tray with baking paper. My baking temperature is 100 Celsius degrees and baking time is 30 minutes.
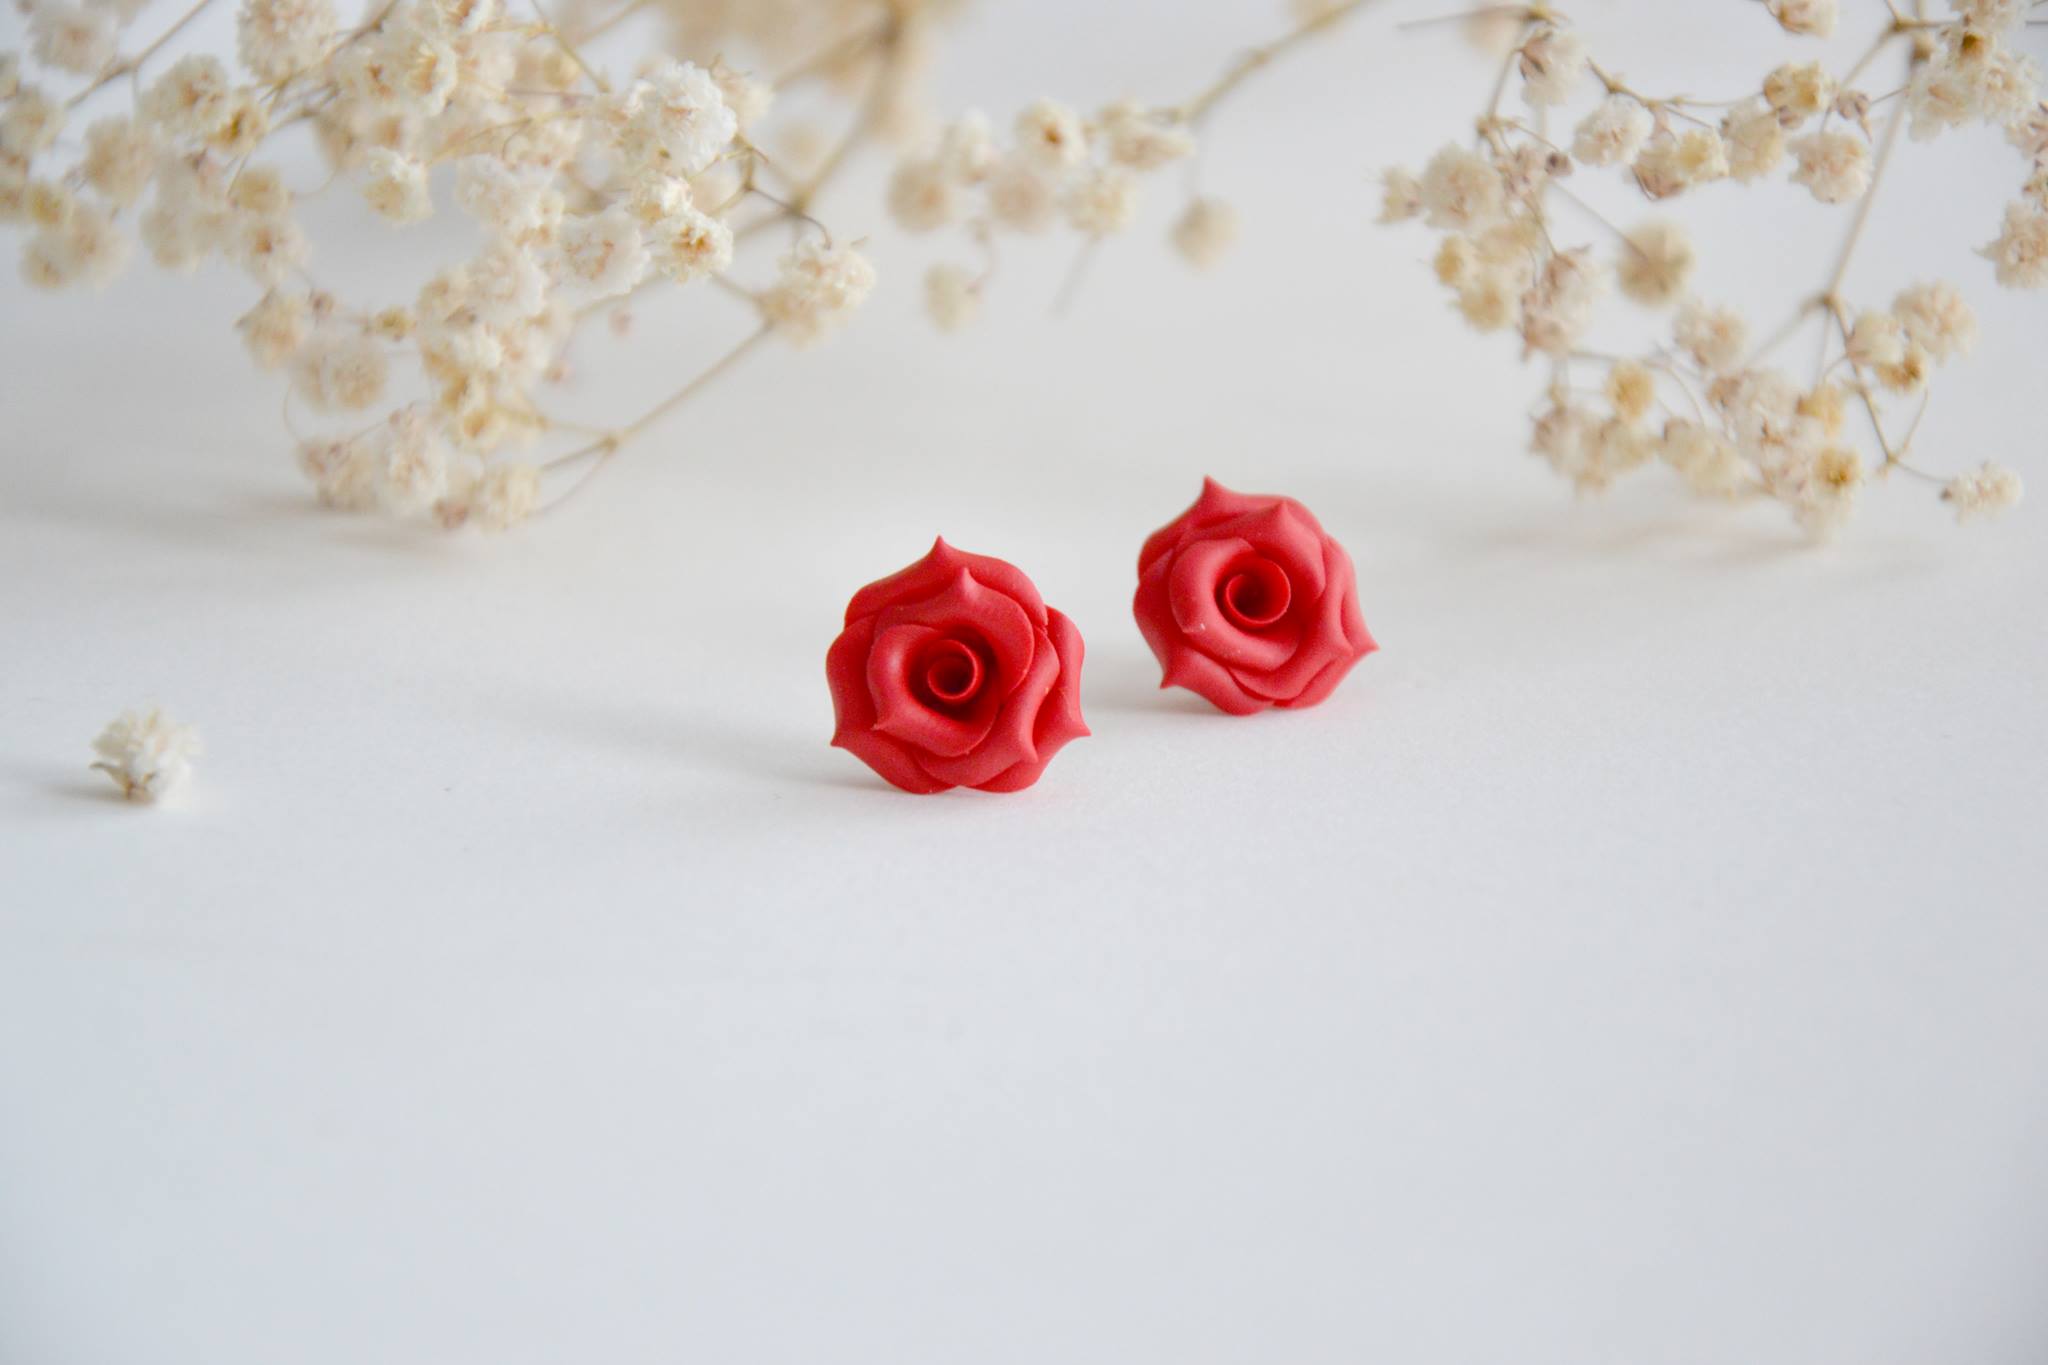
- When its baked, it’s time to glue them on the jewelry finding. I apply a small amount of the glue on the finding, attach the flower on it and wait a bit before laying it on the paper.

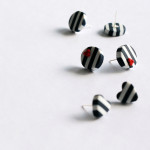
- Congratulations, your Valentine’s rose polymer clay earrings are finished!
If you had some difficulties with this tutorial, try our beginners course Learn To Make Polymer Clay Jewelry to learn all the basics of working with polymer clay.
We wish you lot of luck with this project. <3 Have a great and creative day!
BONUS Slideshow:
Very nice!
Thanks for sharing your tutorial on our site, you can see it here https://craftuts.com/polymer-clay-rose-earrings-free-step-by-step-tutor
Good article. I absolutely love this site.
Continue the good work!