This technique is probably my most favorite one for beginners, why? That is really simple. First of all, it’s easy, you don’t need any advanced modelling skills or a supertalent. The result looks always good. I also do this technique when I am tired after making some more complicated designs or when I just want to relax or play a bit.
Another good thing about this is that you don’t need any special tools or unusual equipment. So I think it’s definitely worth a try. So prepare the material and let’s start creating!
You will need:
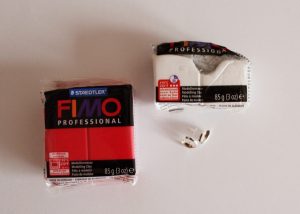 Polymer clay – basic white and basic red
- Stud earring bezels – blank – 2pcs
- White paper
Other equipment:
- Baking paper, baking tray & oven
Steps:
- Clean your hands and your workspace. Use the white paper as your working surface.
- Cut appropriate amount of the white and red polymer clay.
- Condition the clay, first the white one and then the red one. You have to press, pull and mix the clay with your fingers until it becomes soft.
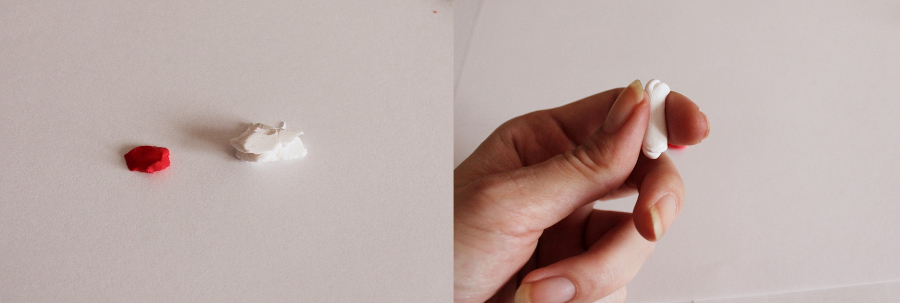
- Take a bit of the white clay and very tiny bit of the red clay. Mix them together, this is how we get a third color – soft red.
- Take a piece of the white clay, make it flat with your fingers, repeat with the other colors and rests of them. Stack these flat pieces on each other.
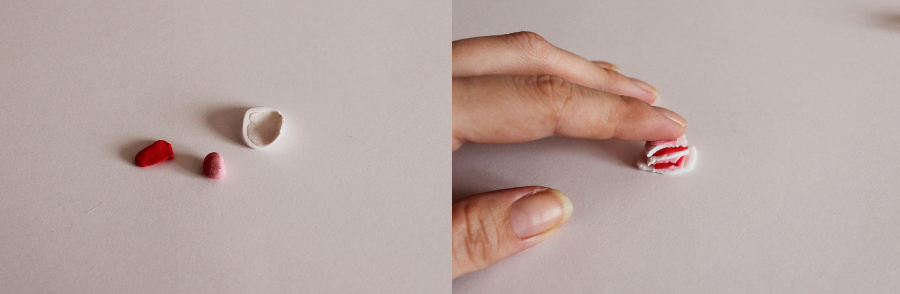
- Gently mix this stack with your fingers, pull it, press it etc. Always look at your piece that the colors don’t mix together completely. When you start seeing nice “marble” result, it’s the right time to stop mixing.
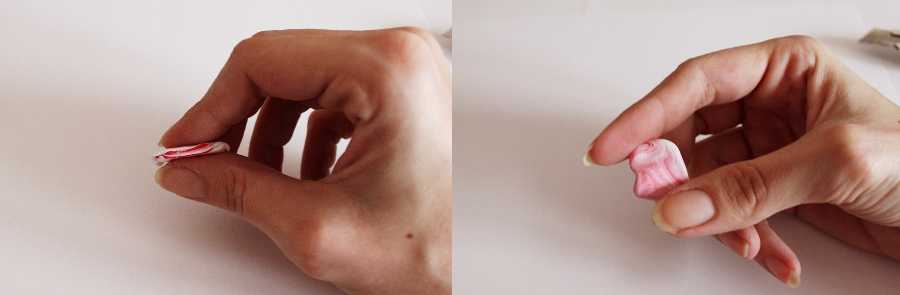
- Cut 2 pieces of this mixture. Try to choose such spot with good looking “marble” design and also try to cut the piece in such size that it’s approximately fitting in the prepared bezel blank.
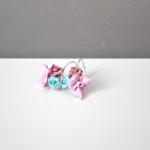
- Use your finger to roll this piece into a ball shape. Choose a good looking side of the ball to be the front of your earring.
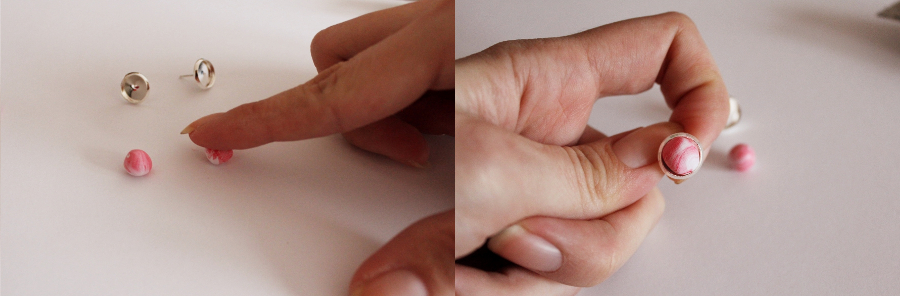
- Press the ball gently into the bezel blank. Use your fingers to smoothen it that it’s fitting nicely inside.
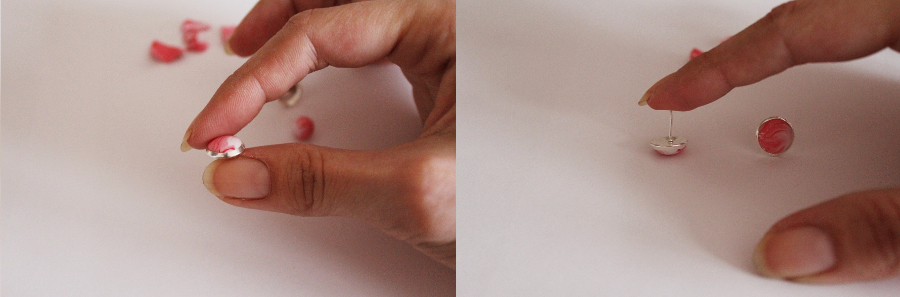
- Probably you left fingerprints on this design or maybe it’s not completely even. Here comes a little trick. Put the earring upside down, and press it with your finger very lightly to the paper and make circular moves. This should remove your fingerprints and also make the shape more even.
- Bake your earrings according to the baking instructions on the clay package. Remember that it’s more economical to make more earrings and bake them altogether.
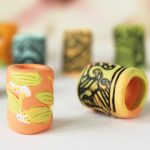
- Congratulations! Your earrings are finished 🙂
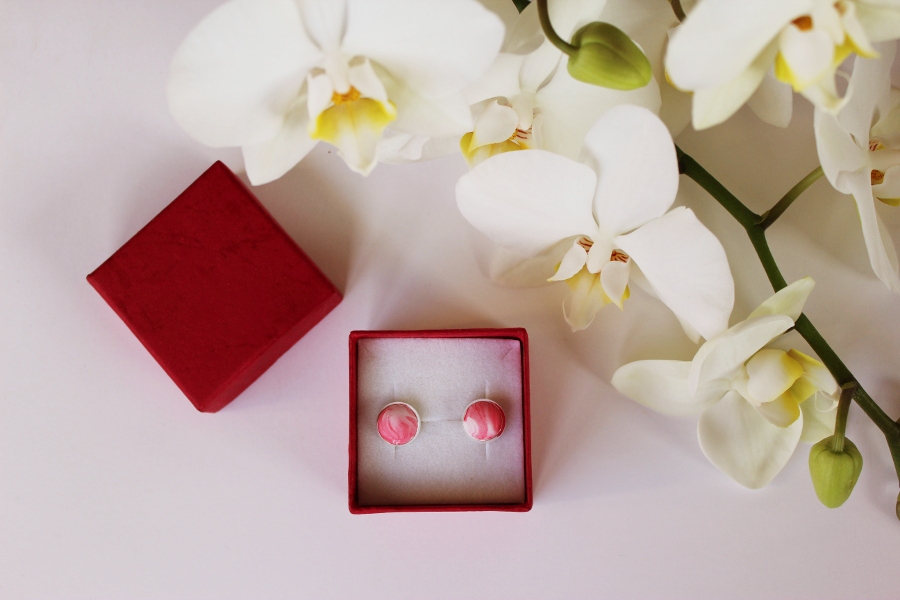
I hope you will be happy with your result and that maybe you discover a new creative hobby for you.